


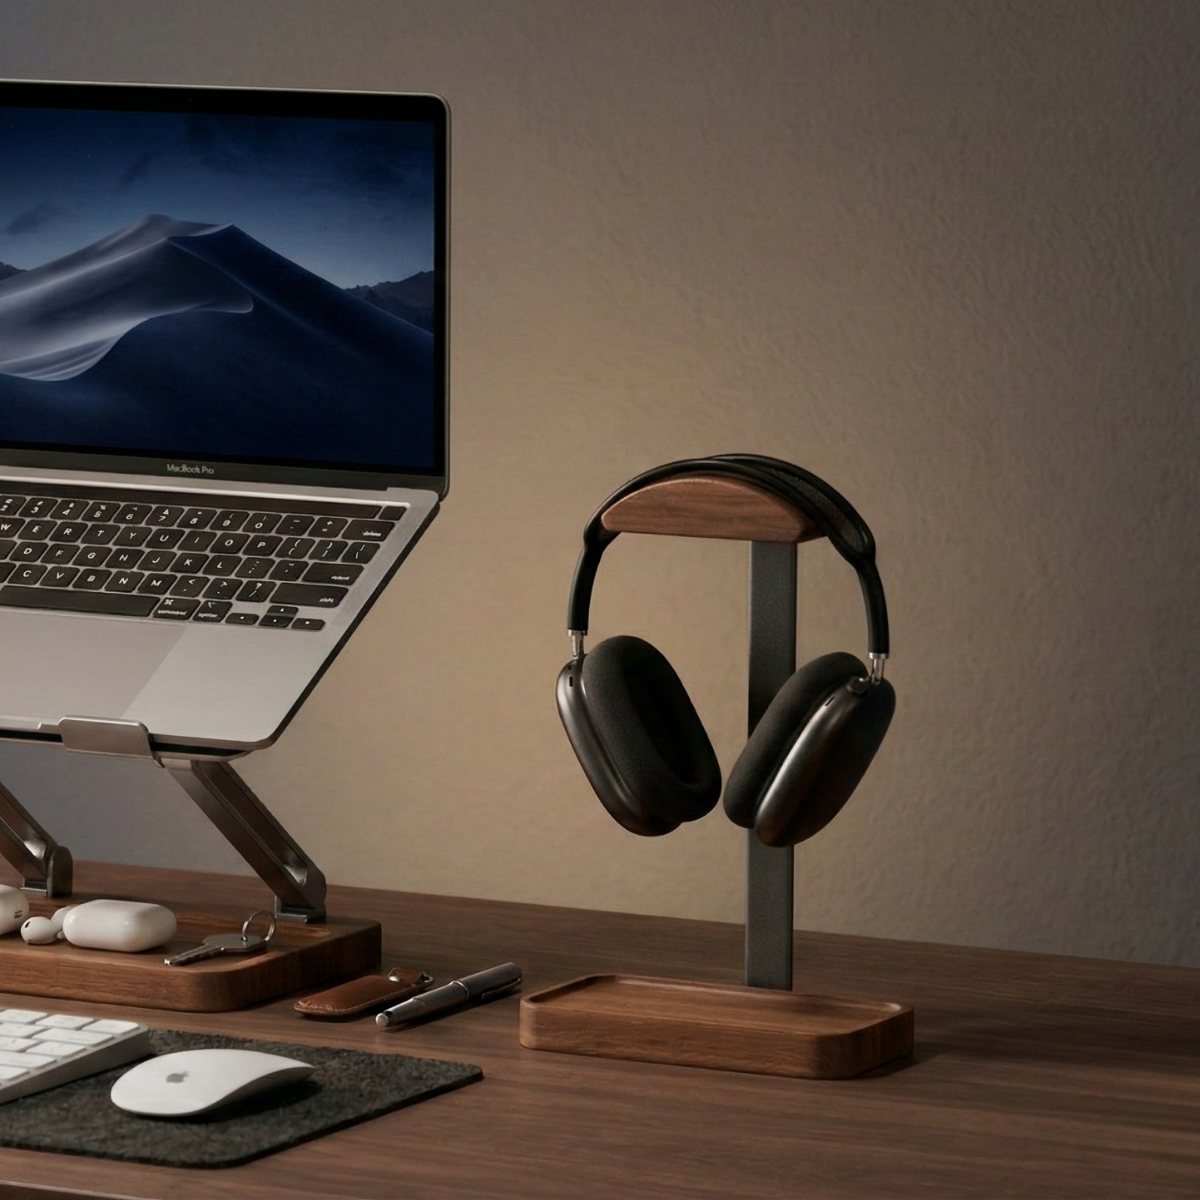

A small desk setup works best when you plan for the devices you actually use, the room they occupy, and the movements you repeat throughout the day. Start with your laptop workflow, then place the monitor, keyboard, and cables before choosing extra accessories.
This guide uses a paper-layout method you can try on your own desk. It is a planning exercise, not a claim that one arrangement fits every laptop, monitor, or room.
1. Decide whether your laptop stays open or closed
If you use the laptop screen for documents, calls, or a second workspace, leave room for the open device. The screen, keyboard deck, and charging connector all need space. A riser changes the screen position, but the complete setup may also need an external keyboard and mouse.
If the external monitor is your main screen and your computer supports closed-lid use in your configuration, a vertical stand can give the closed laptop a place beside the display. A vertical stand is a physical support, not an electronic docking station: it does not add ports or make closed-lid operation possible by itself. Check the computer manufacturer's instructions for your model.
Compare the workflows in our vertical laptop stand vs laptop riser guide before choosing hardware.
| Your everyday use | Plan for | Check before buying |
|---|---|---|
| Laptop screen stays open | Open laptop footprint, screen movement, and any separate keyboard | Device support, stand footprint, and access to ports |
| Laptop stays closed beside a monitor | Vertical stand base and space to lift out the laptop | Closed-lid requirements, laptop thickness with case, and connector clearance |
| You switch between the two | A place to open, disconnect, and move the laptop | Whether cables and surrounding accessories allow the change |

2. Map three areas before adding accessories
Measure your desk's usable width and depth. Note anything that cannot move: a wall outlet, cable opening, lamp clamp, or the part of the desk needed for another activity.
- Screen area: place the monitor base and your laptop or its support. Mark the full base outline rather than the screen's diagonal measurement.
- Working area: put the keyboard and mouse where you actually use them. Include the mouse movement you need and room for your hands.
- Flexible area: reserve a place for the notebook, paper, or other item you use regularly. A surface filled entirely by permanent accessories leaves no room for those tasks.
Cut paper to the base size of each proposed accessory, or mark the outlines with removable paper strips. Try the arrangement while sitting at the desk. This reveals conflicts that a front-facing desk photograph may hide.
Use a printable measurement worksheet
Record the desk, device footprints, and clear openings in one place. Use the sheet alongside paper outlines on your actual desk; the diagram is not to scale.
Open the full-size desk setup worksheet to save or print.

3. Treat a desk shelf as a space trade-off
A shelf creates another level, but its legs and any fitted tray still occupy space. Decide what should go underneath it before assuming the whole area is available for a keyboard.
For example, the Musowood 115 cm Monitor Stand Set has external dimensions of 115 × 23 × 11.5 cm (45.28 × 9.06 × 4.53 in). Those are overall dimensions, not the clear opening beneath the shelf. The set includes a fixed tray and phone holder, which affect the usable space.
On a hypothetical 120 cm (47.24 in) wide desk, a 115 cm (45.28 in) shelf leaves a gross width difference of only 5 cm (1.97 in). That subtraction does not prove the setup fits: a laptop, screen edges, cables, and access space may still extend beyond the arrangement. Do not plan to place another device beside it using that difference alone.
If you need a laptop open beside your monitor on a narrow desk, a smaller shelf or a different support arrangement may suit you better. For two displays, use our two-monitor desk shelf checklist to check the bases, depth, and screen position. A screen-size label alone does not establish fit or supported load.
4. Leave room for cables and daily movement
Insert the charging and display cables you normally use before deciding that an arrangement is finished. A connector may need room behind or beside a device, and a cable should not pull the laptop as you move it.
For a vertical stand, rehearse lifting the laptop out and setting it down again. Keep the path clear of a shelf, lamp, or monitor edge. Measure the laptop with its case fitted; our vertical stand fit guide explains why slot opening and laptop thickness are different measurements.
For an adjustable riser, check the desk arrangement at the height and angle you intend to use. Keep the support on a stable surface, follow its instructions, and reposition the device if a cable or accessory obstructs the setup.
5. Give small essentials one deliberate place
Headphones, an earbud case, pens, and charging cables can take over the gaps between larger devices. Choose storage for the items you repeatedly use, rather than filling every empty part of the desk.
A headphone stand with an integrated tray can put headphones and a few small essentials together. Allow for the headphones' earcups and the movement needed to lift them off. If the desktop is already full, compare the installation requirements of an alternative hook in our headphone stand vs desk hook guide.
Under a shelf, check whether storage stays fixed or slides out. The tray included with the Musowood monitor stand set is fixed; it should not be planned as a pull-out drawer.
6. Run a five-minute layout check
- Use: can you type, move the mouse, and place your usual notebook without moving permanent accessories?
- Connect: can you reach the ports and power connection without pulling the equipment?
- Remove: can you lift out the laptop and headphones without catching another object?
- Store: have you checked the actual clear opening, rather than assuming the external shelf height is storage clearance?
- Compare: do the product dimensions and compatibility details match the paper layout?
Keep the measurements with your shortlist. Browse laptop stands, the desk shelf system, and desk organizers only after the working area is clear. If a required measurement is missing, ask our team before ordering.


Leave a comment
This site is protected by hCaptcha and the hCaptcha Privacy Policy and Terms of Service apply.