


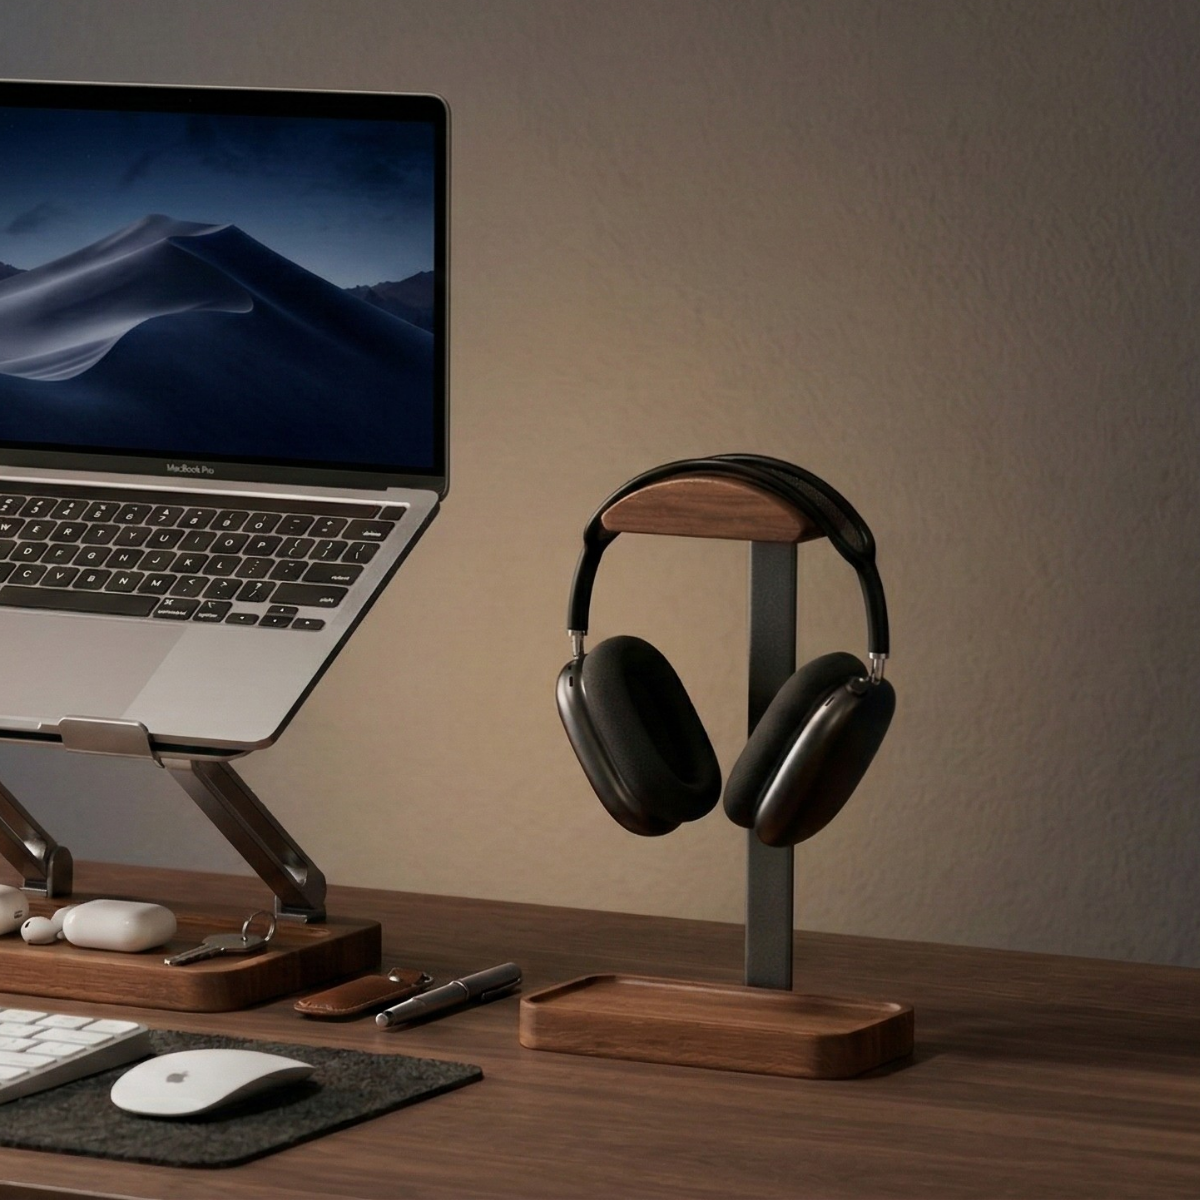
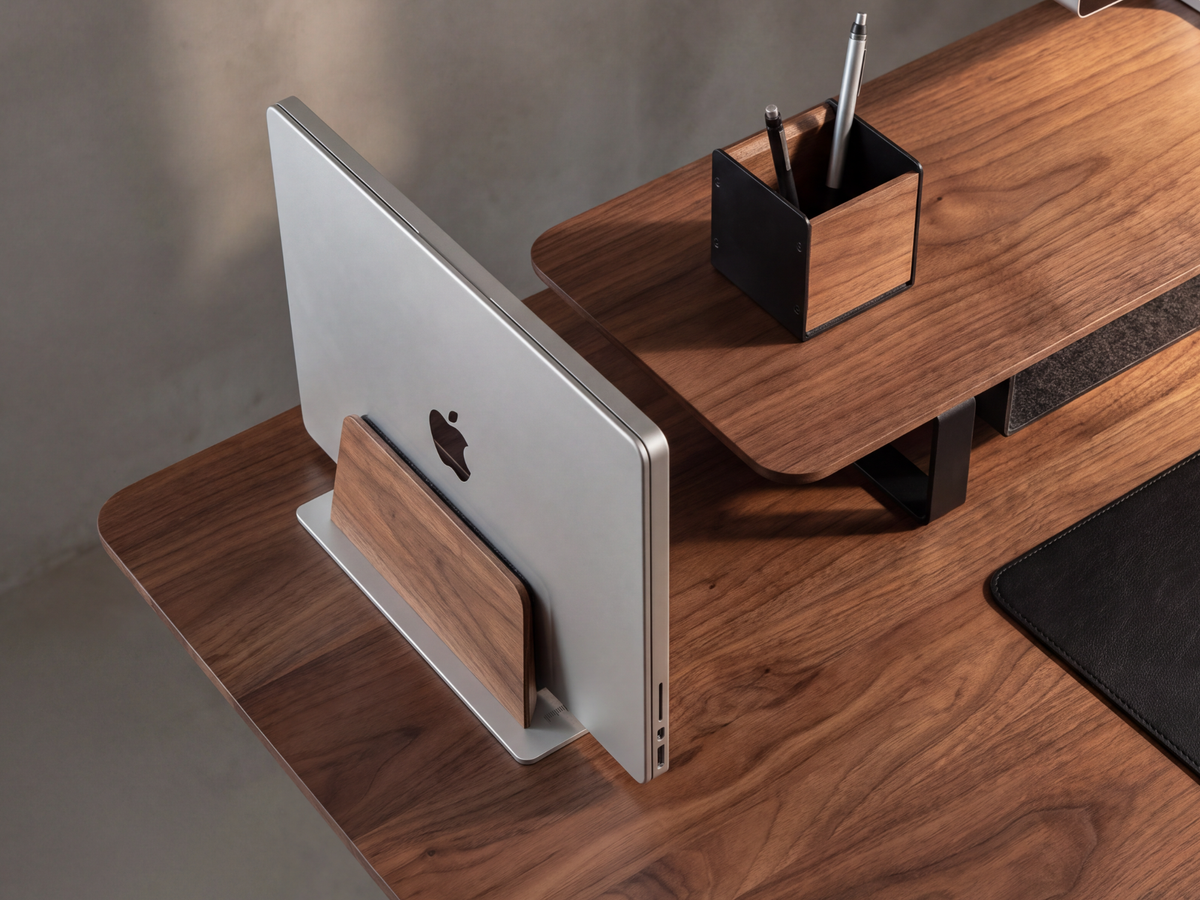
To choose a vertical laptop stand, begin with the thickness of your closed computer, including any case you intend to keep on it. Then check the stand’s slot range, contact surfaces, and the space needed to place and remove the laptop.
Looking for closed-laptop storage? See the Walnut Vertical Laptop Stand. If you want the screen open at a fixed angle, use an open-laptop riser instead—these solve different desk jobs.
Comparing all three wooden options in one place? Read How to Choose a Wooden Laptop Stand.
A “14-inch” or “16-inch” label describes screen size. It does not tell you how thick the closed computer is or whether its case will fit inside a particular stand.
Measure the computer as you will use it
Close the laptop and leave its normal protective case attached. Measure the thickness at the area that will sit between the stand’s sides. If the body tapers, check the wider part that will pass through the opening as well.
Manufacturer dimensions are a useful starting point, but they generally describe the device without an added case. Case edges, corner protection, and attached accessories can change the fit.
Record the measurement in millimeters if the stand’s specifications use millimeters. Keeping both measurements in the same unit makes the comparison easier.
Also look at the laptop’s shape. A thickness figure cannot show whether a protruding hinge, case foot, or attached accessory will touch the stand. If the shape is unusual or the fit is close to a stated limit, send the seller the exact model and case details before ordering.
Understand what the adjustment range means
The Musowood Walnut Vertical Laptop Stand has a slot that adjusts from 14 to 30.5 mm, approximately 0.55 to 1.2 inches.
Those numbers describe the opening. They do not mean every laptop must be at least 14 mm thick. A slimmer laptop can sit with some space between the felt-lined sides. The current product guidance specifically notes this clearance for slimmer laptops such as MacBook Air.
For illustration, a computer measuring 20 mm thick falls within that opening range, but its case shape and placement still need checking. A computer measuring 32 mm thick exceeds the listed maximum. These examples explain the measurement; they are not model-specific compatibility tests.
Leave a little room for insertion and removal. A vertical stand should support the laptop without requiring you to force it through the opening.

Look closely at the contact surfaces
The parts touching the computer deserve as much attention as the wood finish.
Check whether the sides are lined and where the laptop rests. The Musowood model combines walnut and aluminum with felt-lined sides to help protect the contact areas.
Keep those surfaces clean. Dust or grit trapped between the computer and the lining can undermine the benefit of a soft contact surface. If you notice debris, remove the laptop and clean the stand according to its care instructions.
A padded opening also should not be treated as a clamp. Tightening a stand until removal becomes difficult is not a useful substitute for checking the correct fit.

Allow room for your hands and cables
The stand’s base is only one part of its working footprint.
Think about the path your laptop takes when you put it away. Can you lower it into position without reaching around a monitor? Is there enough room above it to lift it out? Can you comfortably hold the computer during the movement?
If you use the laptop while connected to an external display, check port access in the intended orientation. Connect the cables and give them enough slack to reach their sockets without pulling the computer sideways. Follow the laptop manufacturer’s guidance on supported placement and keep ventilation openings unobstructed.
Place the stand on a level, stable desk surface where it will not be caught by a moving cable or the edge of your keyboard.
Check the fit during the first setup
Before making the stand part of your daily routine:
- Set the opening slightly wider than the closed laptop.
- Lower the laptop in gently while supporting it with your hand.
- Check for contact with case edges, hinges, or accessories.
- Confirm that the laptop rests steadily and can be removed without force.
- Recheck the arrangement with the cables you normally use.
Some clearance can be expected with a slim device. If the laptop rocks excessively or does not rest securely in the intended position, stop and ask for model-specific guidance rather than trying to force a tighter fit.
Choose around the laptop you actually own
An adjustable slot is useful when you change cases or computers, but it does not guarantee compatibility with every future device. Check a replacement laptop in the same way you checked the first one.
For the Musowood vertical stand, compare your measured thickness with the 14–30.5 mm slot range and read the current fit notes. If you prefer to work with the laptop’s screen open, explore the laptop stand collection for a support designed for that position.
Ready to free desk space for a monitor setup? Shop the Walnut Vertical Laptop Stand, or choose an open-laptop riser when you need the screen raised while you type.



Leave a comment
This site is protected by hCaptcha and the hCaptcha Privacy Policy and Terms of Service apply.